Due: Thursday, September 23rd in class
In this lab you'll use the design drawing you made for the prelab as a design for a program which will render your creation and save it to a file. Make sure you read the lab! In past labs people have been impatient, skipped some of the reading so, and in doing so, missed useful information and important instructions.
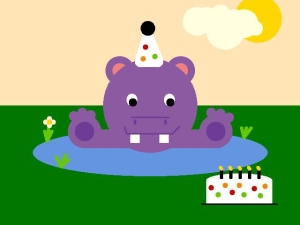
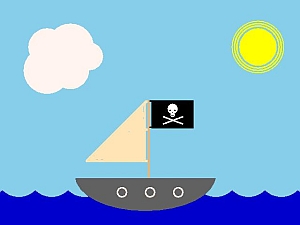
We're now ready to get into the media portion of the course. You'll be creating an image using Python and a collection of routines called from the graphics.py module. Below are a few examples of some past projects.
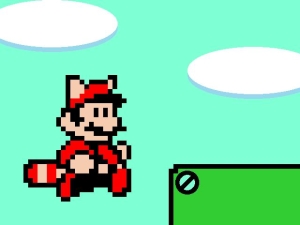
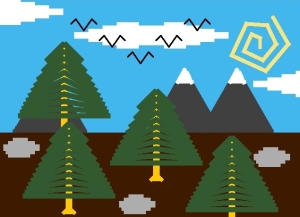
Obviously, the idea is not to just copy one of those. Obviously.
But these should give you some ideas of what you might be able to do. Contrary to these examples, clouds are not required elements of your composition. You could do a cityscape, a picture of some part of campus, a scene of a bear fighting a shark, a recreation of a famous painting, or anything else so long as it has a level of complexity comparable to the pictures above.
As for what you'll be able to actually do with you programs, you'll have the ability to draw straight lines of any width. You'll be able to make circles, squares, rectangles and ellipses, and all of these can be either filled or empty. Everything you draw can have any color you want.
On a regular-sized blank piece of graph paper you should have a drawing of the scene you'd like to create.
Now we're going to write a program to actually generate the picture you designed. We'll be using the module called graphics.py, described in Chapter 4 of your book and documented in the handout. The first think we need to do is tell Python where to find the code that defines the graphics classes. We have already taken care of this for you by putting the graphics.py module in the 'site-packages' folder for Python on the lab machines. If you want to work on this assignment on your own computer, you will have to take a similar step. See me if you need help.
When coordinates are required for the graphics module, the first coordinate will refer to x (left to right), and the second to y (top to bottom). This is pretty standard. The non-standard part is that the coordinate (0,0) refers to the upper-left pixel in the graphics window (not the lower-left, as you might expect). So a larger y value corresponds to a lower pixel on the screen. Also, keep in mind that since the upper left pixel is (0,0), the lower right pixel is (639, 379), not (640, 480).
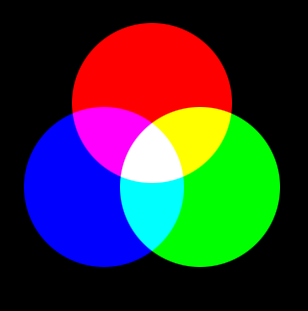 |
Colors on standard computer displays use 3 color channels per pixel: red, green and blue (or rgb for short). The value for any channel can be any number from 0 to 255. 0 represents a lack of color (and thus is dark), while 255 is full brightness. Full red and blue gives magenta. Red and green gives yellow. Green and blue gives cyan. All colors together yields white. Lack of color yields black. Note that since we're dealing with light rather than pigment, this may be the opposite of how you might expect colors to mix. |
In the graphics module, colors are indicated by strings. Most normal colors such as ’red’, ’purple’, ’green’, ’cyan’, etc. should be available. Many colors come in various shades, such as ’red1’, ’red2’,’red3’, ’red4’, which are increasingly darker shades of red.
The graphics module also provides a function for mixing your own colors numerically. The function color_rgb(red, green, blue) will return a string representing a color that is a mixture of the intensities of red, green and blue specified. These parameters should be ints in the range 0–255. Thus color_rgb(255, 0, 0) is a bright red, while color_rgb(130, 0, 130) is a medium magenta.
The following URL contains online documentation of the graphics module: http://mcsp.wartburg.edu/zelle/python/graphics/graphics/
You've now got the pieces you need to recreate your image in Python. You should aim to recreate your drawing as faithfully as possible. Make the size of your picture at least 640 by 480 so that I can see what you've done. Your python program should be named Drawing.py.
Also, try to use a variety of methods and classes from the graphics module: don't just use Line or Rectangle objects. Mix it up!
Make sure I have seen your original before you leave today, but you may keep your original with you for your work during the week. Hand it in to me next Thursday before you start your next lab, making sure your name is on it. In your assignment dropbox create a folder called Lab03. Into this should be placed: